1920s Hair Tutorial: Flapper Girl

One of the most iconic looks of all time was brought to us by the legendary “Flapper Girls” of the roaring 1920s. A decade where extravagant parties and indulgence was a lifestyle not just a treat, these women knew how to have fun, and they done it in style! Even today, a whole century later, 1920s fashion still has an influence on our outfits, how we style our hair and our make-up.
Here at Cliphair, we wanted to delve deeper into the history of some of the most famous hairstyles adorned by Flapper Girls including the “Finger Wave” and the “Faux Bob”. Using these classic hair-dos as inspiration, we’ve created our own simple 2021 adaptations also adding hair extensions to really pump up the glam! Read on for the full blog including a step by step tutorial and hair accessory recommendations to complete the look at home.
1920s Fashion and Pop Culture

Less is more was most definitely not a commonly used phrase in this decade. There was no such thing as too much, one single outfit would often include sparkling embellishments, beads, tassels, sequins, elaborate jewels and bold patterns. A combination that would not be put together today as we tend to choose one or the other, but somehow the Flapper girls made it work. And, they didn’t just make it work, they done it whilst oozing class and sophistication.
The dramatic style wasn’t by any means limited to the clothes, it continued on to the hair, make up and even the interior design of many households and establishments. Black, Gold and Silver shades were firm favourites for all aspects of style which we think is another nod to wealth and luxury which is what this decade was all about.
1920s Hair

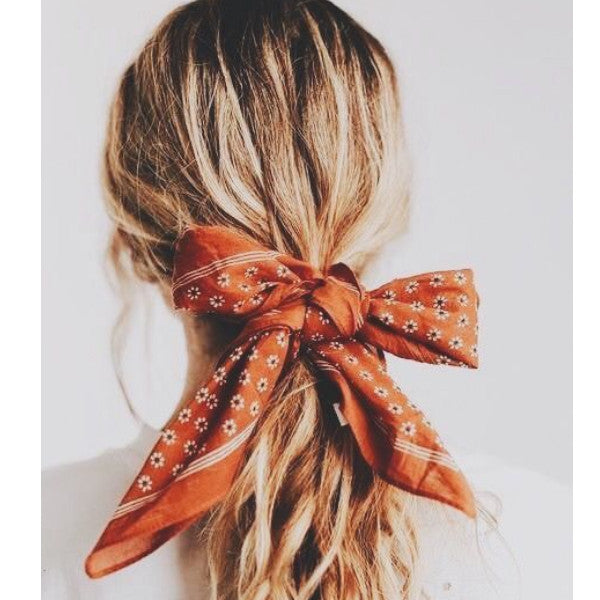
Short hair and fluid waves were unquestionably the height of fashion in this decade. The “Finger Wave” and “Faux Bob” were the most popular styles of the time and were often decorated with fancy embellished hair pieces just like the one in the image above. A lot of the hair accessories consisted of a band across the forehead finished with a pendant or broach on the side, sometimes even containing feathers and ornate jewels.
To create the “Finger Wave” the hair was soaked in a gum like gel and pinched by hand into S shapes, it was then pinned perfectly into place and left to set. This style was perfect for partying as it kept the hair out of the face and looked effortlessly chic at the same time. The “Faux Bob” was created for the women who had long hair but wanted to trail the short hair look of the time without committing to a haircut.
The hair was skilfully tucked underneath and secured with pins to give the illusion of a short wavy bob, giving these ladies the freedom to rock both long and short looks. Both hairstyles included a deep side part emphasising the volume on the top of the head adding to the demureness of the style.
1920s Inspired Glam Waves Tutorial with Hair Accessories

Here at Cliphair, we’ve taken inspiration from the iconic women of the 1920s and crafted our own “Flapper Girl” hairstyle. We’ve added our Seamless Clip In Hair Extensions to enhance the volume and length in this look but you can absolutely do it without hair extensions. However, we are going for gold in the glam stakes today, so hair extensions are the perfect addition to this hair-do.
Step One: What tools will you need?
- If like us you're adding hair extensions you’ll need to add these before you start styling, were using our Seamless Hair Extensions Set as we want the ends of the hair to look super thick and luscious.
- Heat protection Spray
- Pintail comb
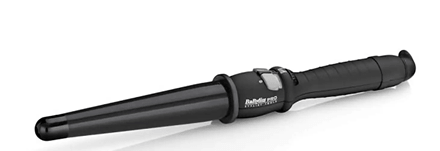
- Medium sized curling wand/tong
- Large sectioning clips
- Small metal pin curl clips
- Hairspray
- Shine Spray
- Backcombing comb
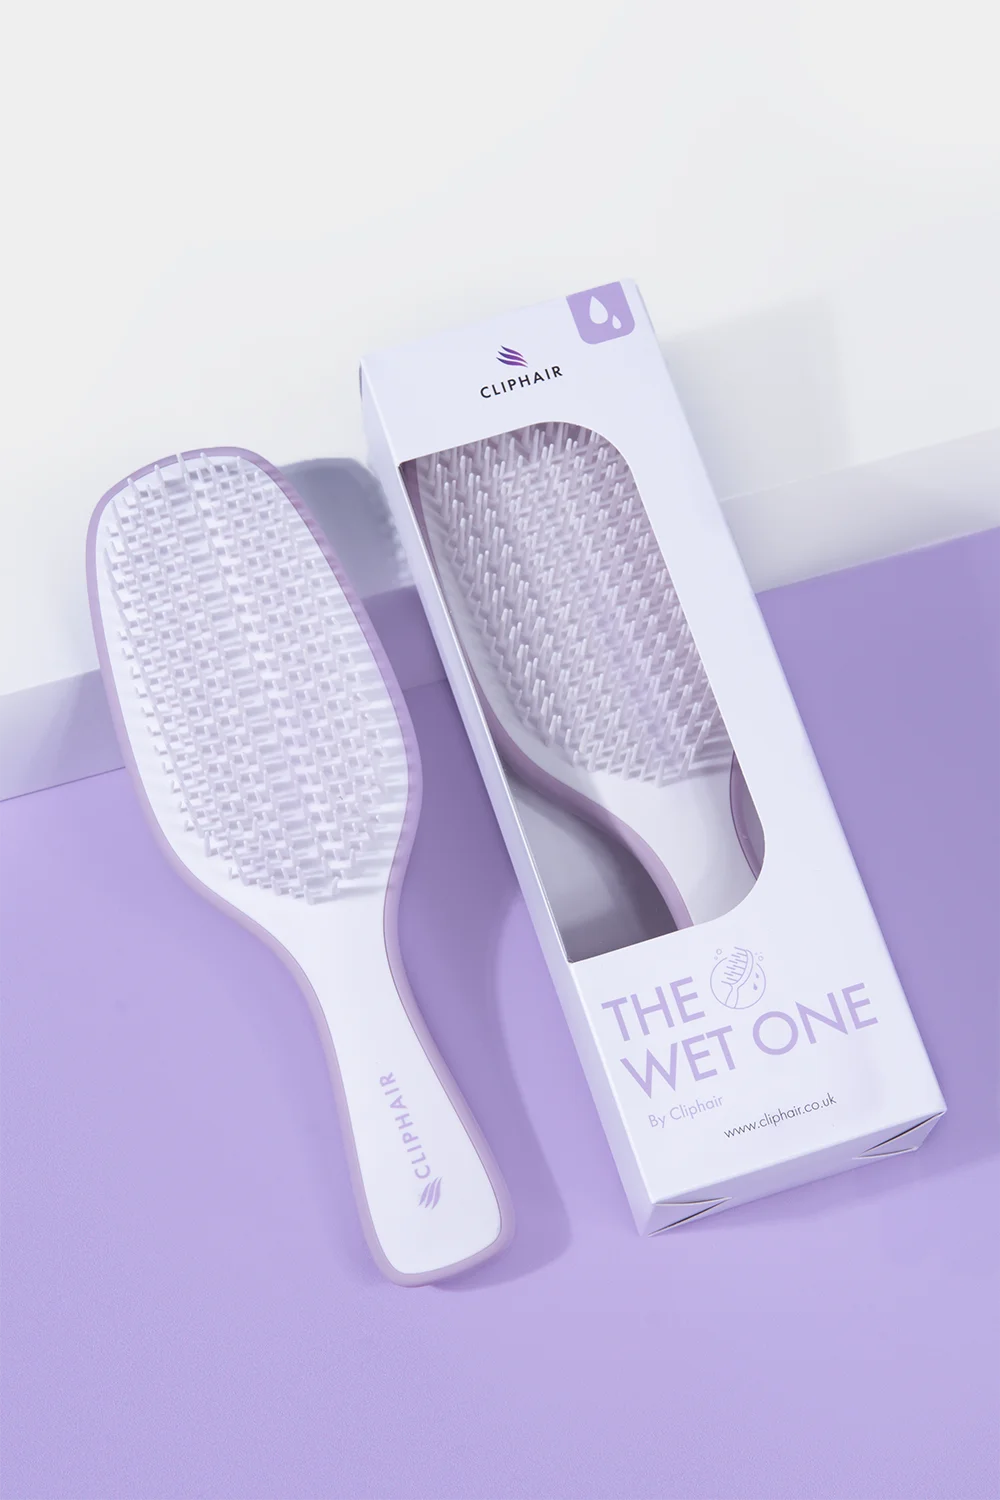
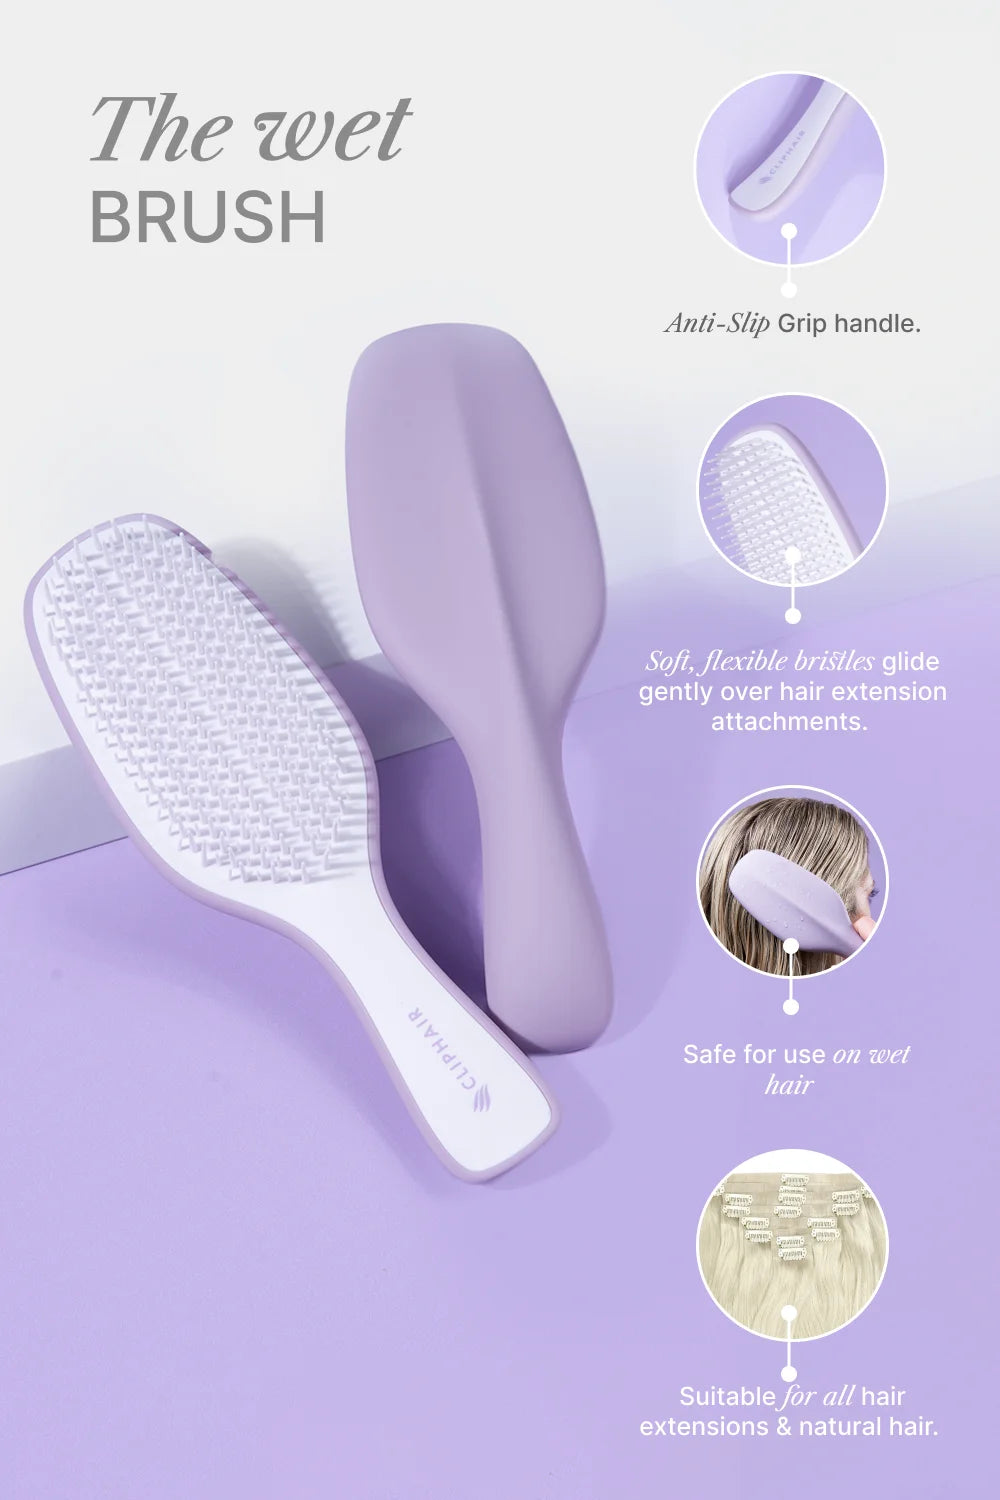
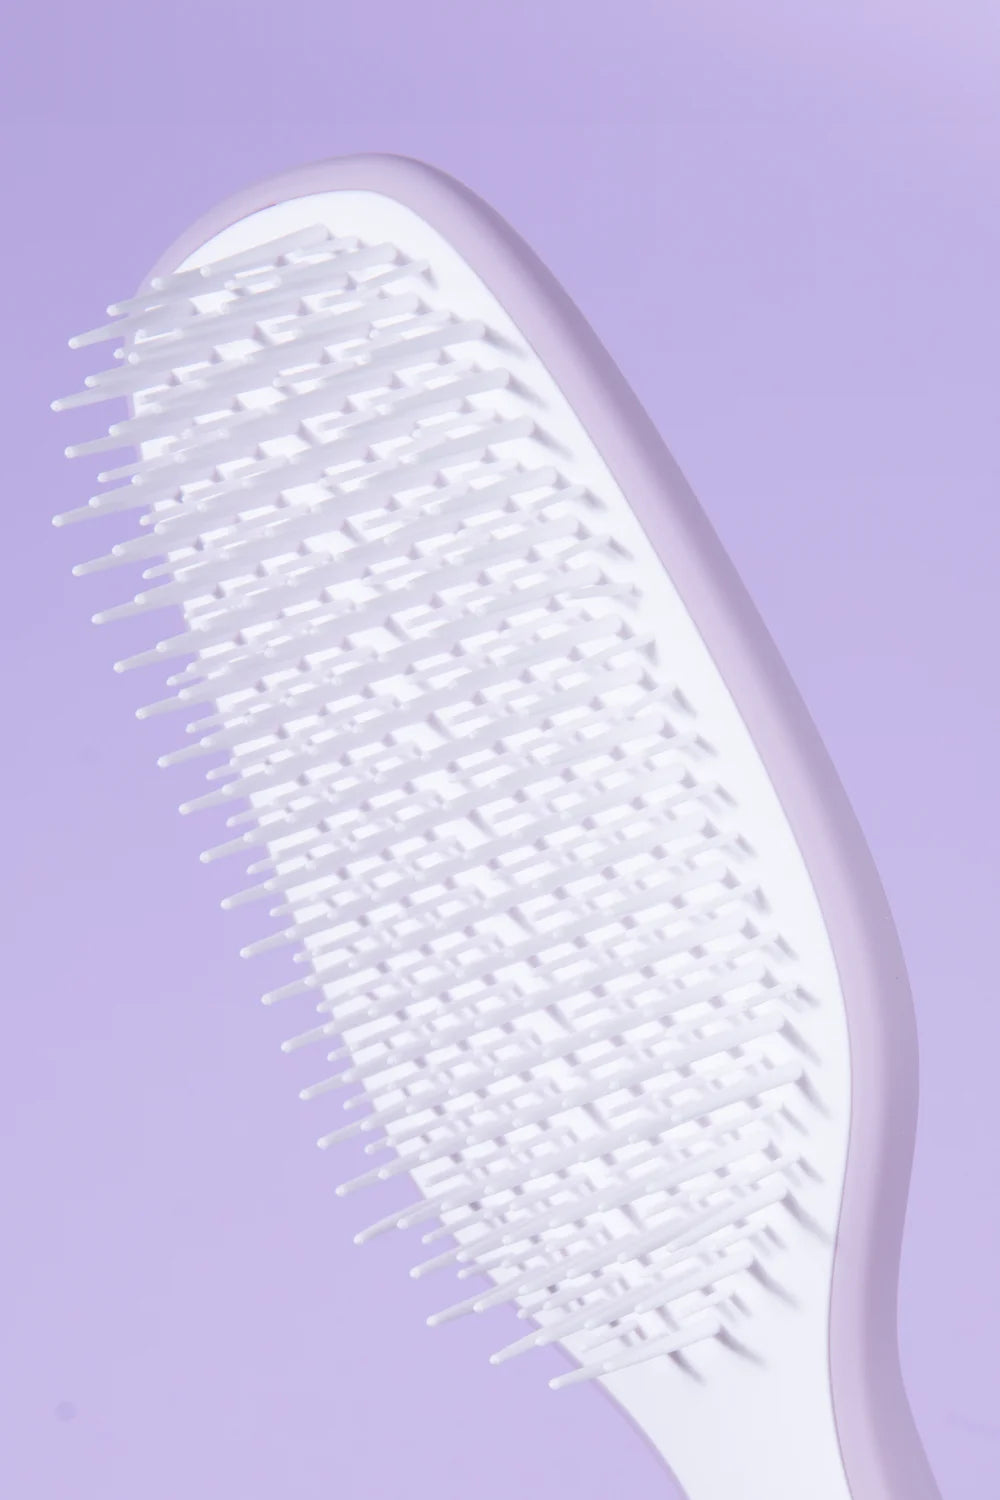
- Cliphair Detangling brush
- The hair accessory of your choice to decorate your masterpiece.
Step two: Prepare the hair


Lyseste brun (#18) Dobbeltegnet sømløs klips i hårforlengelser


Hair Extension Heat Protection Spray
Start by creating a neat, deep side part on your chosen side of the head with a pin tail comb, this will help you create the high cascading wave at the front of the hair featured in many a vintage style. If you are using hair extensions like us then you need to add them now before you begin the styling work, this will ensure a seamless blend of the natural hair with the extensions and it also saves time.
Remember, giving the hair a little backcomb at the root before attaching the Clip-ins will help the extensions to stay in place securely. Now spritz the hair all over from the ends to mid-lengths with Heat protection spray to protect your precious locks from any heat damage.
Starting from the bottom take a neat horizontal one inch wide sections, this will be in the nape area of the head. Again, taking another inch wide section, wrap the hair pointing downwards around the curling wand (not outwards or the hair will be flicky).
Repeat this for the whole section across taking care to curl each part in the same direction. Once the section is completely curled give it a good spray with hairspray to help it to set, then carefully roll each curl into a pin curl and secure into place with a small metal sectioning clip.
You can add another layer of hairspray now if you are wanting this style to last a long time. Repeat all over the head remembering to keep the direction flowing in the same way, the finished result should look something like the image below!

Step Four: Creating the Waves

Detangling hårbørste
After the entire hair is in pin curls this should be left to set for 10-15 minutes to completely cool down, this helps the hair to hold its shape once it is brushed out.
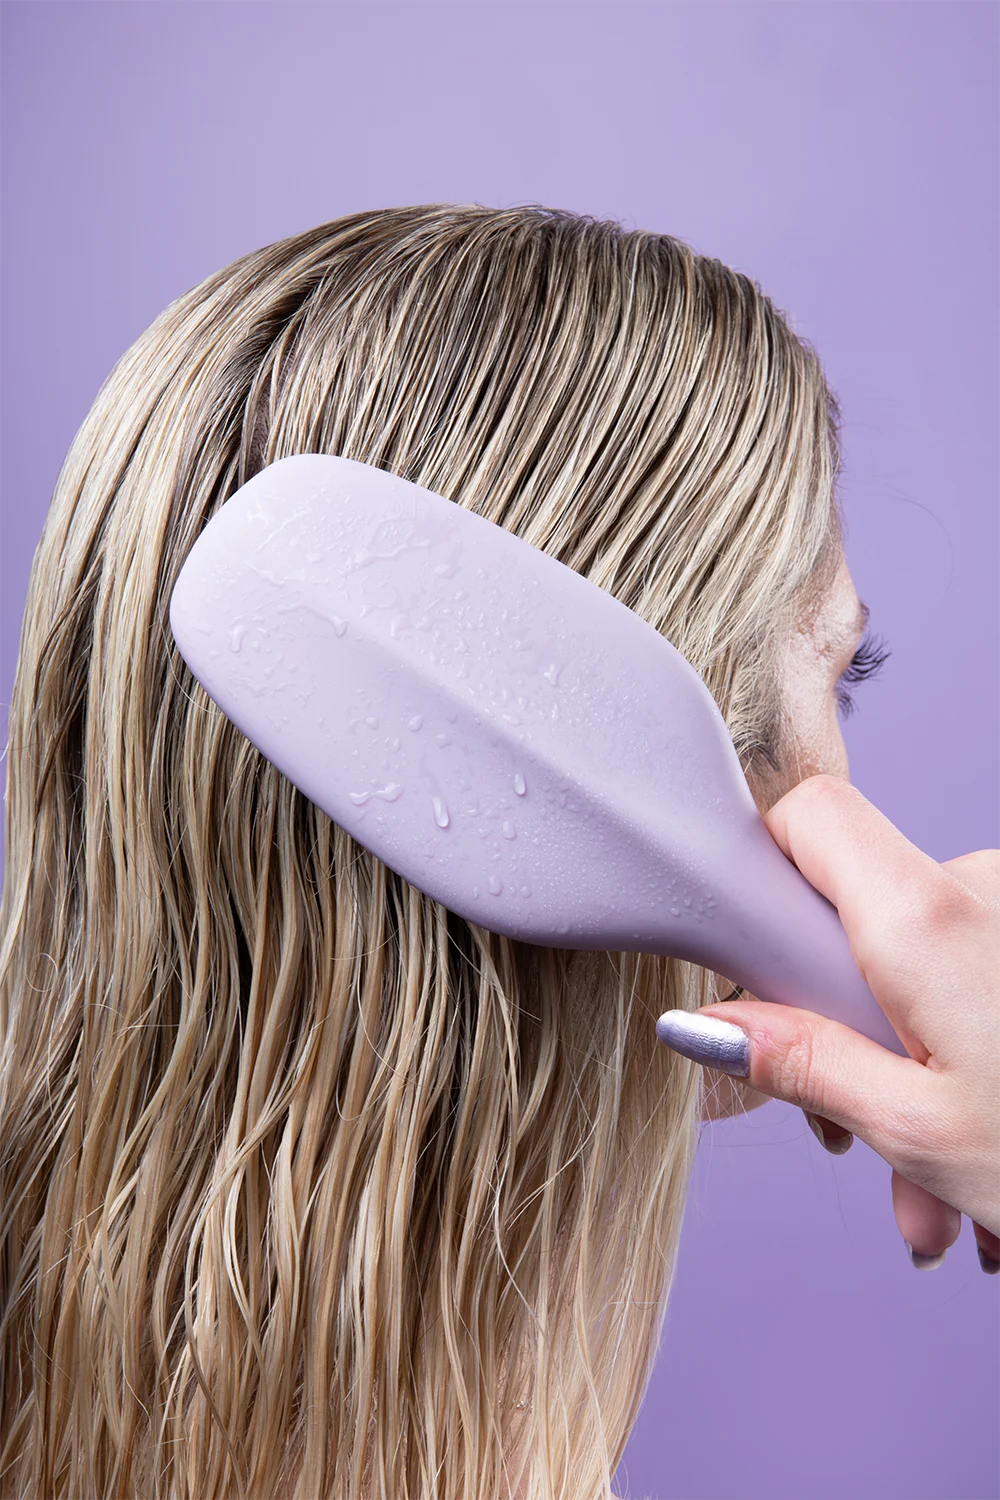
When the hair is cool starting from the bottom section, unpin the first row. Next, gently use your Cliphair Detangling brush to brush the hair out from the root to the ends and you’ll see the fluid wave shape start to take form.
Repeat this process up until the crown of the head, adding a final layer of hairspray once the back section is unpinned.
Step Five: Un-pinning the Top

Before you completely unroll the top pin curls, give the roots a little backcomb then smooth over the top with the prongs at the end of the comb. This will lift the hair adding volume and help to disguise any extension seams! After the backcomb use your Cliphair detangling brush to gently brush out the ends just like you did with the back section.
Once the entire hair has been brushed out you can now use the backcombing comb to enhance the ridges in the waves if need be by brushing up underneath the hair. When you are happy with the overall look you can give the hair a spritz with moisture spray to add shine and silkiness.
Now the hair part is over its time to decorate! To really hit the Flapper Girl style go for a classic diamante encrusted headband with a white ribbon and hanging jewels. Place the band so that the hanging jewels sit on the smaller parting side and the band across the forehead as this is how they were worn in the 1920s.
Once you’ve added your chosen accessory your finished, after a final spritz of hairspray its time to take your gorgeous Finger Wave creation out on the town and party like it’s the roaring 20s!
The Finished Look: 1920s Glam Waves

Video Tutorial 1920s Flapper Girl Hairstyle
So, now that you know how to create an iconic “Flapper Girl” inspired hairdo, why not have a browse through our hair extension collection here at Cliphair to complete the look. Our goal is to provide confidence boosting, affordable, gorgeous hair extensions for all, no matter the hair type or concern. We have a wide range of lengths and over 50 shades to choose from including our new balayage shades! We have also got all the accessories and haircare products you need to apply and maintain them here. Whatever your after you will find it in our selection, and what’s more if you need any help choosing the right ones for you feel free to ask an expert and use our FREE Colour Match and Advice service by clicking the button below!


