If you are looking for a low-maintenance and trendy hairstyle, you might want to try balayage with root colour. In this blog, we will show you how to do a root drag and how to balayage at home. Balayage is a natural-looking highlight technique that creates a sun-kissed effect on your hair, while root drag is a way of blending your roots with your highlights for a seamless transition. Both styles are perfect for when you don’t want to worry about your roots growing out or visiting the salon frequently. Read on to learn more about the differences between balayage and root drag, and how to achieve them yourself.
1. Root drag VS Balayage: What’s the difference balayage and root drag?
The idea of the balayage effect is that it’s a gradual addition of colour throughout the length of your hair. This much-loved timeless highlight style is designed to replicate the sun-kissed, natural tones that we have as children, before noticeable regrowth lines set in, while a root drag is a form of a balayage highlight technique with the opposite approach. A root drag is used to blend out the natural roots, therefore basing your colour and style around your roots. The main difference is in the technique in which balayage highlights are created using strokes of colours carefully placed in the right places in your hair from end to root, while root drag works its way downwards from your root to ends.
Whether your blending in your grown-out roots by doing a root drag or adding some sun-kissed highlights to the ends, we have got you covered even for beginners, these tips are easy! Read on for some of the top tips you need for achieving healthy, shiny highlights.
2. What you'll need to create the Balayage effect:
- A tint brush
- A mixing bowl (any plastic bowl will do)
- A medium width tooth comb
- Gloves
- Vaseline or any type of barrier cream
- Your choice of hair dye (for this look I would advise sticking to a colour as close to your natural root as possible) (If your hair is on the thicker side get 2 boxes)
3. DIY Balayage: How to Balayage at home
Step One: Section your hair

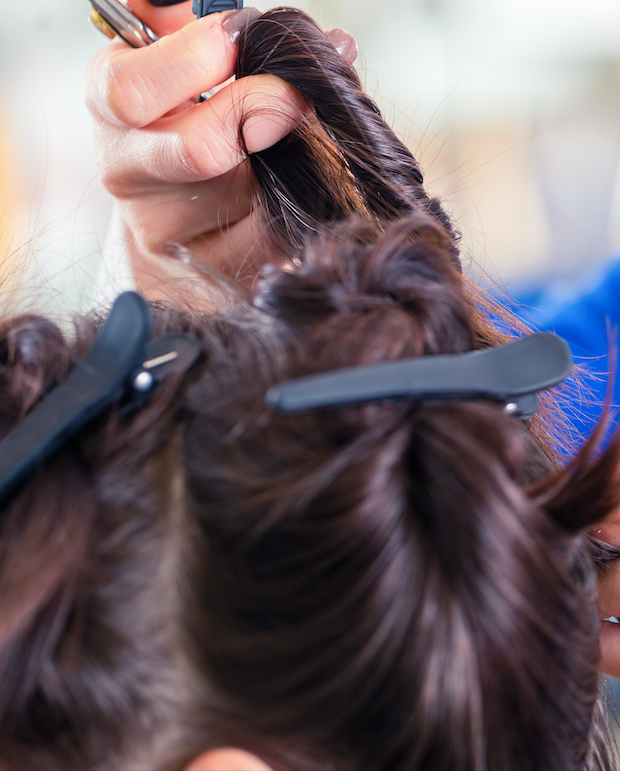
To section your hair, use the ‘hot cross bun’ method; split it into four sections (or squares). The horizontal divide should be placed on a level with your ears. Make the divides as straight as possible.
Step Two: Protect your hairline
Protect your hair line and cover it with Vaseline before you start the application. This will stop the colour from staining your skin.
Step Three: Carefully apply the colour
To create a balayage effect, take care not to apply any of the lighter blonde colour to the roots as the roots must stay dark in order to create the full balayage effect. Apply the dye only to the lengths, in the areas that you want to lighten. The best way to do this is to use your fingers (while wearing gloves) to apply the colour.
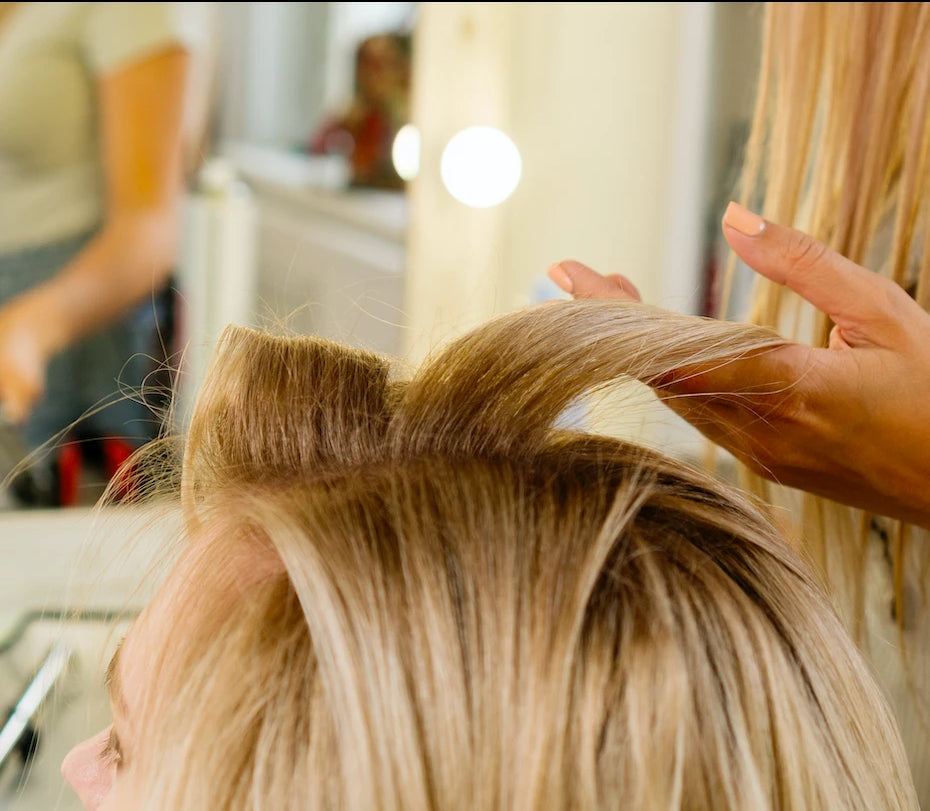
Use soft, downward strokes to blend, but not rub the dye into the hair in a way that is natural and soft. Avoid blocks of colour; you’re aiming for a subtle, sun kissed look. Think about which bits of your hair would naturally turn blonde if you spent a lot of time in the sun. The side mid lengths and the front should be your main focus.
Please note that this method can not be used on hair extensions. If you wish to use hair extensions, get the lighter colours in extensions and use them for the for balayage effect, instead of bleaching.
4. Some extra hints and tips for Balayage
When shopping for the right colour for you balayage highlight, opt for hair dye no more than two to three shades lighter than your natural hair. This helps avoid platinum streaks and helps to achieve that natural look.
If you’ve never tried balayage highlights at home before, go steady and always ‘under dye’ if you’re not sure. You can always come back in a couple of weeks and add some more touch ups. If you add the lighter colour too heavily, you could end up having to colour it over in one block tone.
Toner is the best way to refresh the colour so you don’t have can stay out salon for at least three months. Just remember that the ends of your hair will have the most hair dye and sun exposure so if you want to keep your hair nice regularly apply a treatment to your locks and add the serum to the ends to keep it moisturised.
5. How to do a root drag

If your dark roots are showing through and you want to blend them with your lighter ends to get that natural grown out balayage effect, then a root drag is the perfect solution to achieve that. It will get rid of that harsh regrowth line and leave you with a soft grown out balayage effect until you can get them topped up with your hairdresser!
Step One: Preparation
Prepare your colour according to the product instructions. Cover yourself and the area your working in properly so you don’t end up with stained clothes or surfaces. Apply a layer of Vaseline (barrier cream) around your hairline and on your ears to prevent your skin from staining.
Step Two: Section your hair
Section hair into 4 sections, like a hot cross bun shape. Use the comb to make one long section from your parting to you neck, then a section horizontally through the middle of that, parting to ear. Twist the hair to keep it still or use clips if you wish. You can use the picture you have here for the sectioning.
Step Three: Apply colour

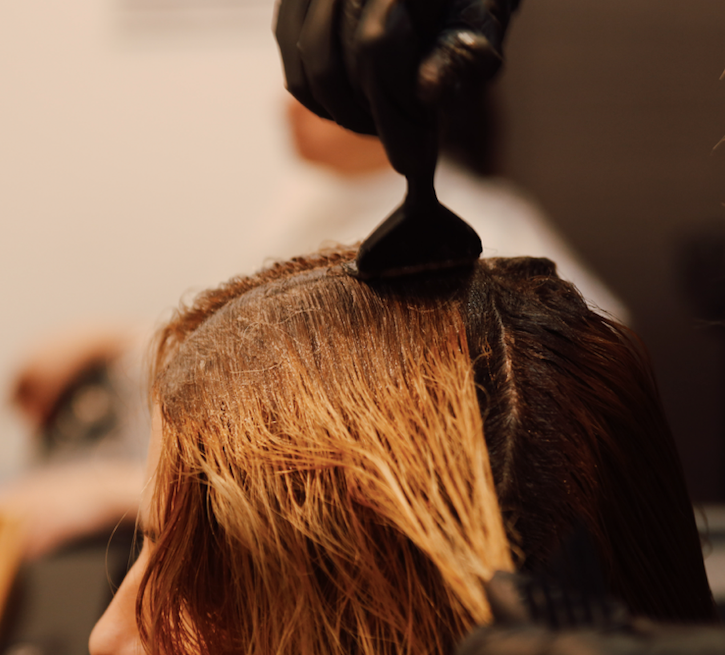
Starting with your parting and hairline, only on the roots, use your tint brush to apply colour, then repeat on the partings you made from main parting to ear, this will help to keep your hair neatly in its 4 segments. Now in each segment starting from the top take horizontal 1-inch thick section lines using the end of your tint brush all the way across and apply colour evenly to the roots, repeat this all over in all segments until all roots are completely covered. If covering a lot of grey, make your sections slightly thinner so you don’t miss any!
Step Four: Start the root drag
Now that all the roots are covered, you can start the root drag. Roughly comb everywhere to bring the colour down slightly. Using your 4 segments still, use horizontal line sections the same as you done with the roots starting at the sides pick random pieces of that section of hair add more colour and drag colour down using the tint brush and your fingers leaving the other pieces untouched. Repeat this all over and try to do this in a brick work pattern to avoid creating a line. Be flexible and creative with how far your bringing the dark down too, there are no rules as to how far down you can bring it, the less solid pattern there is, the less solid line there will be!
Step Five: Shampoo and condition
Leave colour on for 10 minutes more than the instructions to ensure coverage over lighter hair. Shampoo and Condition well. Style and enjoy your newly blended roots.
6. Shop Balayage Hair Extensions
Want all the beauty of Balayage colours and volume without damaging your hair with dyes. Our high quality Remy Human Hair Balayage Tape Ins are lovingly constructed with invisible, repositionable adhesive wefts. Easy to style, heat and wash, expect thicker, longer, head-turning locks in a matter of hours.
7. Conclusion
If you are looking for a way to lighten your hair without harsh lines or a lot of damage, then balayage or root drag may be a good option for you. Balayage is a technique that creates a gradual lightening effect from the mid-lengths to the ends of your hair, while root drag is a technique that blends your natural roots with your lighter ends. Both techniques can be done at home, but it is important to follow the hair care instructions to avoid damaging your hair. If you are not sure which technique is right for you, consult with a hairstylist.
Will you be trying the balayage or root drag look? Which would you go for? Let us know, and don't forget to hashtag #WearCliphair on Instagram, Facebook or Twitter.


